Indoor Dummy Camera Installation: Maximize Coverage with Optimal Mounting Guide
Strategically placing indoor dummy cameras at key Indoor Dummy Camera Mounting Locations maximizes s…….
Strategically placing indoor dummy cameras at key Indoor Dummy Camera Mounting Locations maximizes surveillance effectiveness. Opt for well-lit, unobstructed areas like hallways and entryways, mounting at eye level or slightly elevated. Avoid blind spots by considering corners, intersections, ceilings, doors, and windows. Using essential tools, securely attach cameras with robust mounts, ensuring clear image quality for comprehensive coverage and intruder deterrence. Regular testing maintains the system's reliability and accuracy.
“Uncover the secrets of creating an effective mock surveillance system with our comprehensive installation guide. Learn why strategic placement of indoor dummy cameras is paramount for enhanced security. Discover optimal mounting locations to achieve maximum coverage and deter potential threats.
From selecting the right tools to a step-by-step attachment process, this guide ensures your mockup is both realistic and secure. By understanding indoor dummy camera mounting locations, you can transform your space into an intelligent surveillance symphony.”
- Understanding the Importance of Indoor Dummy Camera Placement
- Identifying Optimal Mounting Locations for Maximum Coverage
- Tools and Equipment Required for Installation
- Step-by-Step Guide to Securely Attaching Dummy Cameras
- Testing and Calibration for Effective Surveillance Mockup
Understanding the Importance of Indoor Dummy Camera Placement
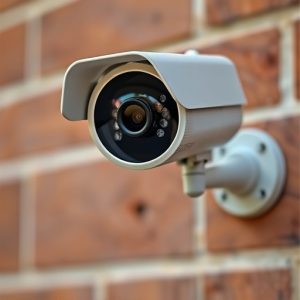
Proper placement of indoor dummy camera is paramount for creating an effective surveillance system. Consider strategic locations such as hallways, entryways, and common areas where potential intruders are most likely to enter. Mounting them at eye level or slightly elevated ensures optimal visibility, capturing clear footage of all activity. By strategically placing these cameras, you can deter crime and create a sense of security within your space.
Indoor dummy camera mounting locations should be well-lit and unobstructed to ensure maximum clarity of any captured footage. Avoid places where they might be easily blocked by furniture or obstructions, as this could compromise the system’s effectiveness. Remember, the goal is to provide comprehensive coverage while maintaining a realistic appearance that doesn’t draw unnecessary attention.
Identifying Optimal Mounting Locations for Maximum Coverage
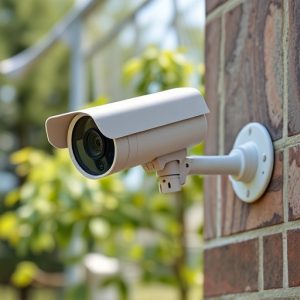
When setting up a mock surveillance system, strategic placement of indoor dummy camera mounting locations is key to achieving maximum coverage. Start by assessing the layout of the space(s) you wish to monitor. High-traffic areas like entryways, corridors, and common areas benefit from cameras positioned at eye level or slightly elevated to capture clear, unobstructed views. Consider corners and intersections as prime spots for comprehensive viewings, ensuring no blind spots exist.
Don’t overlook less obvious but equally important locations. Ceilings, above doors, and near windows can provide valuable top-down perspectives. By carefully selecting indoor dummy camera mounting locations that align with these considerations, you’ll create a robust surveillance network capable of effectively deterring potential intruders while offering peace of mind.
Tools and Equipment Required for Installation
To install a mock surveillance system, you’ll need a range of tools and equipment tailored to the job. Start with essential items like various types of screwdrivers (both flathead and Phillips), pliers, wire strippers, and a measuring tape. For indoor installations, consider a drill with a small bit for creating holes, especially for mounting dummy cameras at strategic Indoor Dummy Camera Mounting Locations.
Additional helpful tools include a level to ensure precise alignment, cable ties for organizing wires, and a step ladder for reaching higher areas. Choose the right hardware for your specific camera models, including mounting brackets and screws designed for secure attachment, whether it’s on walls, ceilings, or other surfaces within your indoor spaces.
Step-by-Step Guide to Securely Attaching Dummy Cameras
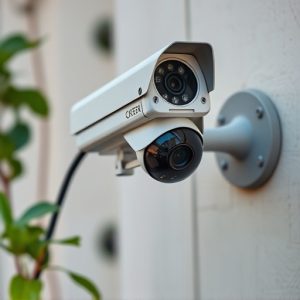
To securely attach dummy cameras indoors, follow this step-by-step guide focusing on optimal mounting locations. First, identify suitable spots that mimic real surveillance needs—for example, near entryways, corridors, or common areas. Ensure these areas offer clear lines of sight for maximum coverage. Next, select robust and discreet indoor dummy camera mounts designed to hold the cameras firmly in place. These mounts should be made from materials like metal or high-quality plastic, ensuring they’re durable enough to withstand handling and potential attempts at removal.
Use tools suitable for the chosen mounting hardware, typically including screws, anchors (for masonry walls), or adhesive (for drywall). Securely fasten each dummy camera at the selected locations, ensuring proper alignment with minimal gaps or overlaps. Test the cameras’ functionality—including image quality and field of view—to verify they capture clear images from their elevated positions. This step ensures a comprehensive mock surveillance system that effectively deters potential intruders without revealing advanced security measures.
Testing and Calibration for Effective Surveillance Mockup
For a mock surveillance system to be effective, thorough testing and calibration are paramount. The process begins with identifying optimal indoor dummy camera mounting locations. Strategically placing cameras in various angles and heights simulates real-world scenarios, ensuring comprehensive coverage of targeted areas. This step is crucial for capturing detailed footage while minimizing blind spots.
Once mounted, calibrate the dummy cameras to match the performance of real surveillance equipment. Adjust settings such as focus, exposure, and field of view to replicate accurate visual data. Regular testing ensures the system provides reliable, high-quality footage essential for training purposes, security assessments, or simulating actual surveillance operations.
Installing a mock surveillance system is not just about placing cameras; it’s about strategic indoor dummy camera mounting locations that offer comprehensive coverage. By understanding the importance of placement and following a step-by-step guide, you can create an effective mockup that serves as a reliable security tool for your space. Remember, the right Indoor Dummy Camera Mounting Locations can make all the difference in achieving optimal surveillance, ensuring peace of mind, and enhancing overall security measures.